Modular cold rooms are one of the smartest solutions for businesses that need reliable, flexible, and energy-efficient temperature-controlled storage. Whether you’re in food service, pharmaceuticals, floristry, or logistics, building your own cold room can seem like a big task—but with the right guidance, it’s more achievable than you might think.
At ColdSafe, we specialize in designing and constructing modular cold rooms for a wide range of industries. Whether you want to build it yourself or leave it to the experts, we’re here to help. Below is a step-by-step guide to help you understand what it takes to build a modular cold room.
Step 1: Define Your Requirements
Before starting any construction, you need to clearly define:
Purpose: Chilled (0°C to 5°C) or frozen (-18°C and below)?
Size: What are your current and future storage volume needs?
Location: Indoor or outdoor? Will it be permanent or temporary?
Power Source: What electrical infrastructure is available?
Access Needs: Think about door size, shelving, and traffic (people, trolleys, forklifts).
🧊 ColdSafe Tip: Consider installing slightly larger than your current need to allow room for growth.
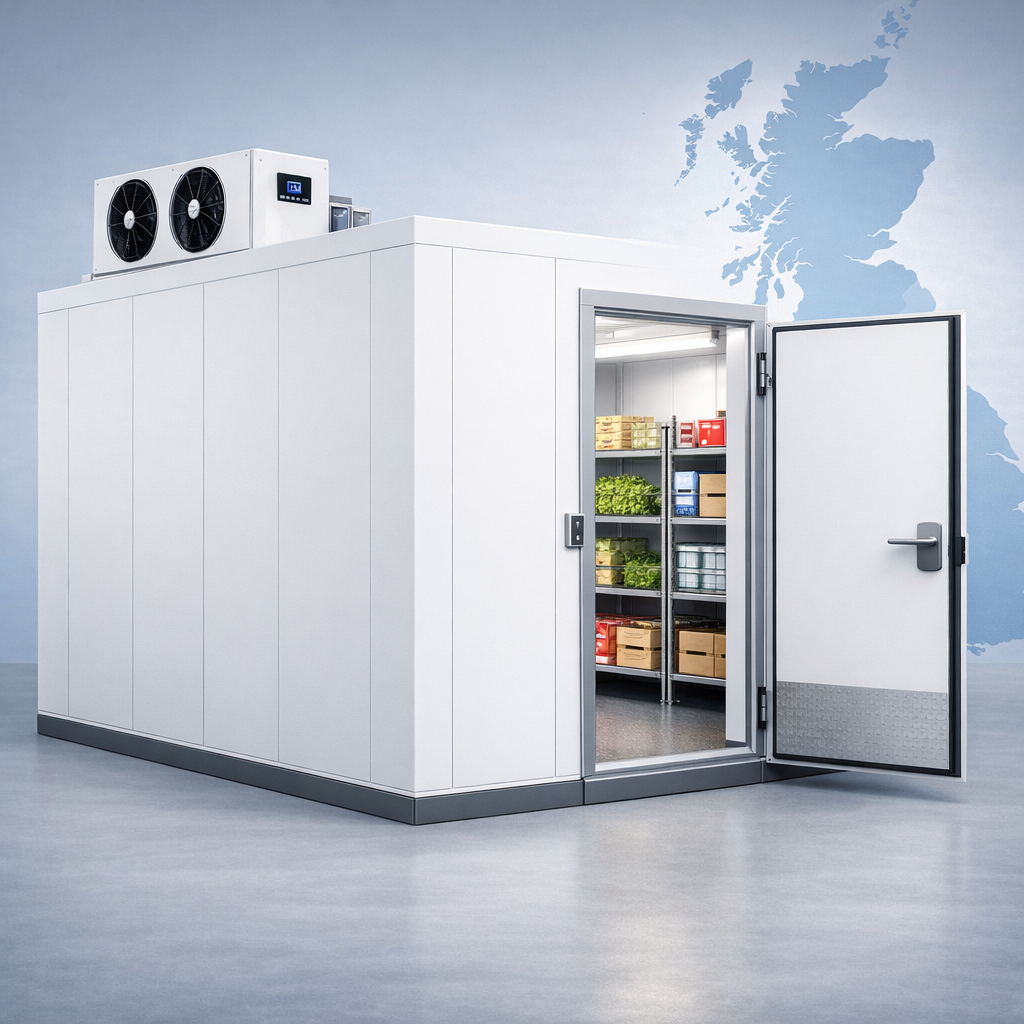
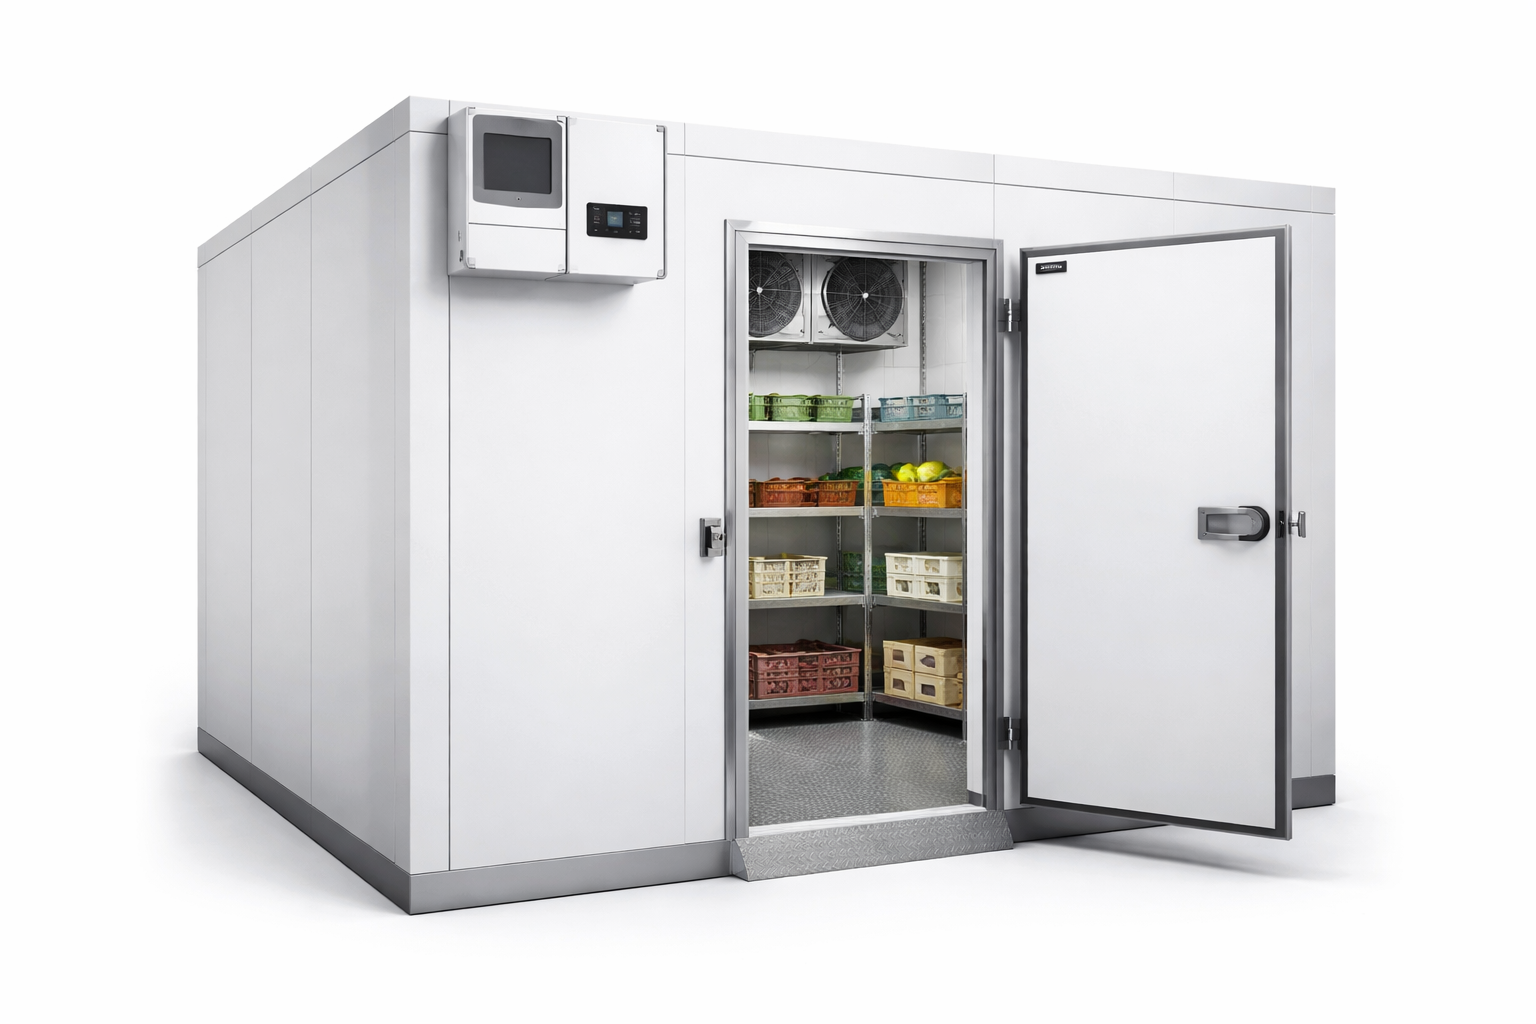
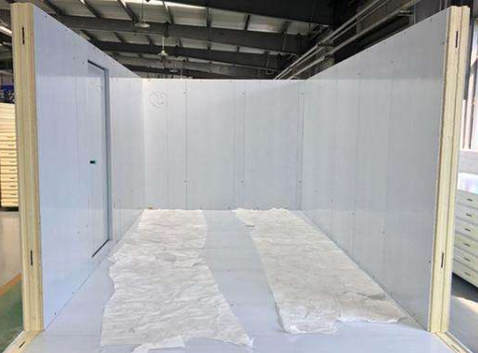
Step 2: Choose the Right Insulated Panels
The core of a modular cold room is its panels. These are typically made of high-density polyurethane foam sandwiched between steel sheets (galvanized, pre-painted, or stainless steel).
Thickness: Usually 80–150mm, depending on the required temperature range.
Finish: Food-grade, corrosion-resistant materials are best for hygiene.
Interlocking System: Panels should lock tightly to prevent air leakage.
🧊 ColdSafe Tip: We offer panels in various finishes and thicknesses to suit any application, from commercial kitchens to pharmaceutical warehouses.
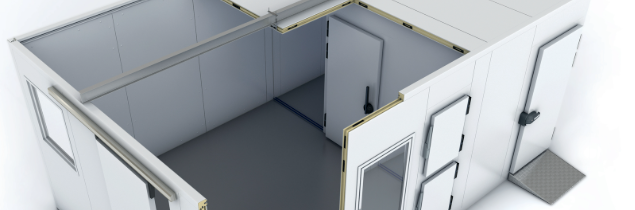
Step 3: Construct the Cold Room Frames
Begin by installing the floor panels (if required), then work your way up:
Lay out the base frame.
Install wall panels by interlocking edges.
Fit corner pieces and ceiling panels.
Seal all joints using food-safe silicone or gasket tape for airtightness.
This stage can be done relatively quickly with two or more people and some basic tools.
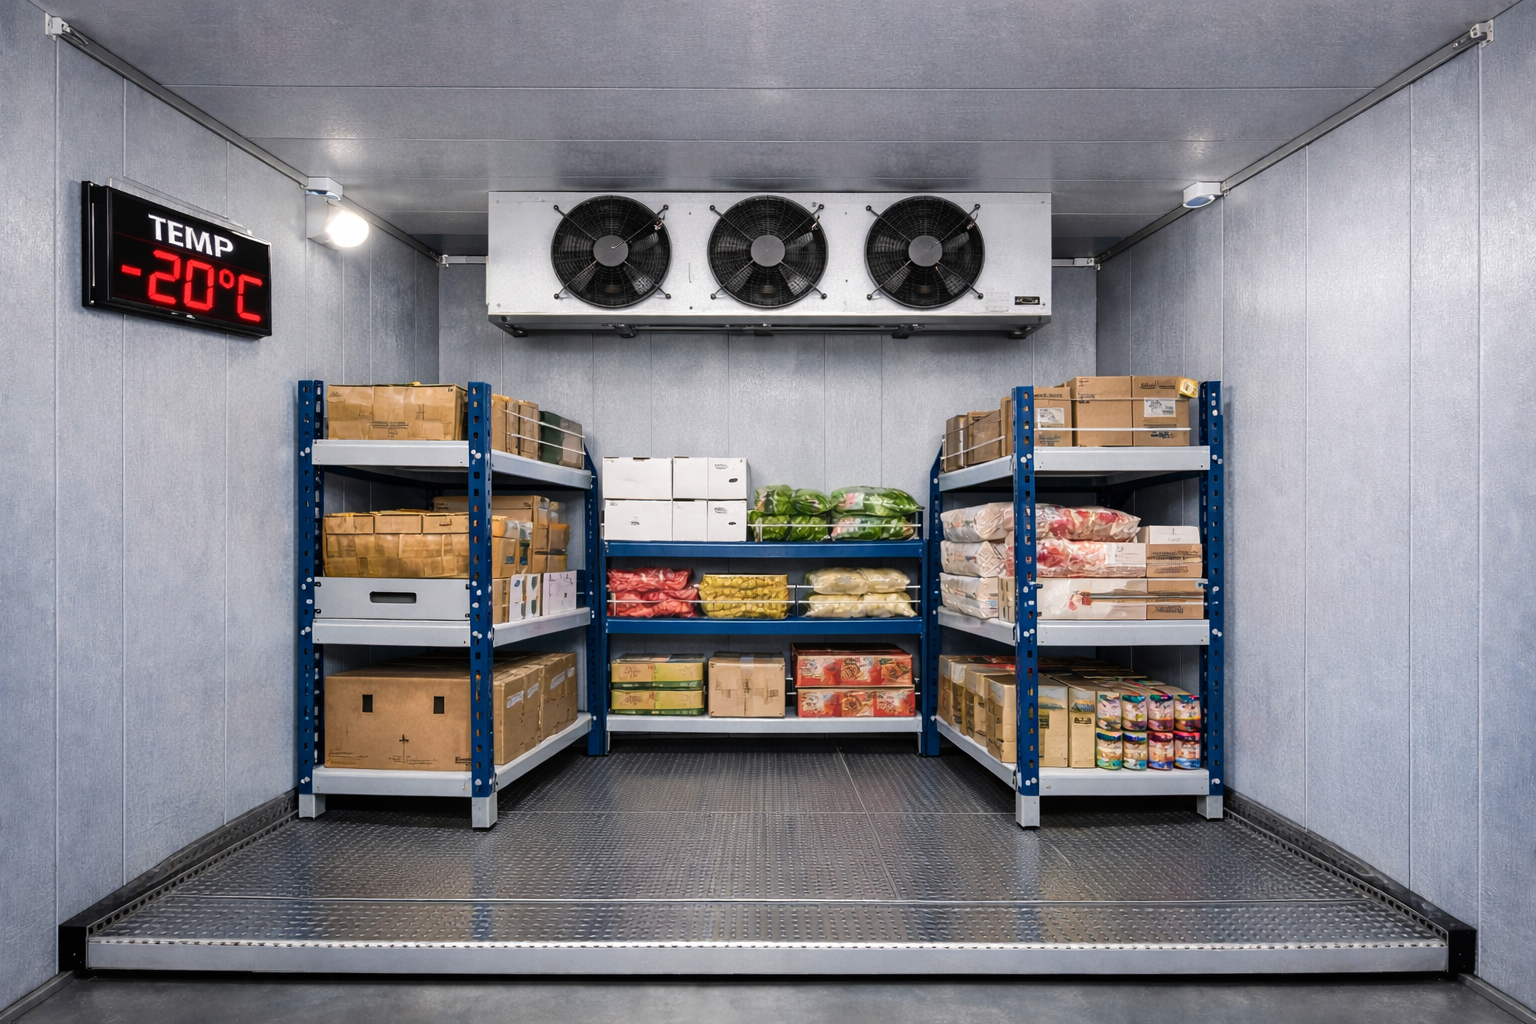
Step 4: Install the Refrigeration Units
The heart of the cold room is the cooling system. You’ll typically choose between:
Monoblock units (integrated): Easier to install, good for small to medium rooms.
Split systems (separate condenser and evaporator): More powerful, ideal for larger or hotter environments.
Installation involves:
Mounting the unit (usually through a wall panel or on the ceiling).
Connecting electrical supply and drainage.
Setting temperature controls.
🧊 ColdSafe Tip: Our engineers can recommend and install the perfect system for your temperature range, energy efficiency, and usage.
Have questions or ready to start building your modular cold room? The ColdSafe team is here to help—whether you need expert advice, a custom quote, or full installation services.
📧 Email us: info@coldsafe.co.uk
🌐 Website: www.coldsafe.co.uk
We aim to respond to all inquiries within 24 hours. Let’s keep it cold safely!